How to print and paint your paint by numbers
Everything from choosing a photo to sealing the finished canvas — written for first-timers, useful for everyone.
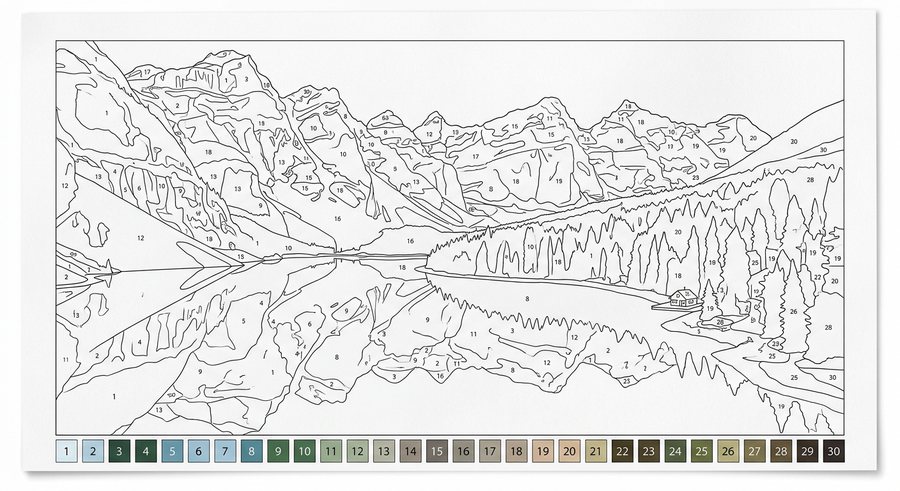
1. Choosing the right photo
The template can only be as good as the source image. A generator turns continuous tones into flat regions, so anything that is already muddy in the photo becomes muddier on the canvas.
- Sharp focus on the subject. Motion blur becomes vague blobs.
- Even, generous light. Faces lit from the front or side beat backlit silhouettes.
- Simple background. A busy street behind your dog produces dozens of tiny areas nobody enjoys painting.
- At least 1000 px on the long edge. Larger is better for 50×70 cm canvases.
2. Colours and detail settings
| Subject | Colours | Detail |
|---|---|---|
| Child’s first painting | 8–12 | 2–3 |
| Landscape / seascape | 16–24 | 4–5 |
| Pet portrait | 20–28 | 6–7 |
| Human portrait | 24–32 | 6–7 |
| Flowers, still life | 18–26 | 5–6 |
More colours means more realism but also more mixing. If a region on the preview looks smaller than the tip of your smallest brush, drop the detail slider by one or two steps and regenerate.
3. Printing your template
- Open the downloaded PDF in any reader.
- In the print dialog set Scale: 100% (or “Actual size”). Never use “fit to page” — it shrinks your numbers.
- Choose the paper size that matches your canvas ratio. A4 for 20×20 and 30×40; A3 or larger for 50×70.
- For canvas printing, take the PDF to a print shop and ask for matte canvas at the exact centimetre dimensions you selected.
- Print the palette page in colour too — it is your mixing reference.
Printing at home on 200 gsm matte paper works well for acrylics. Thin copy paper buckles as soon as it gets wet.
4. Paints, brushes and supplies
- Acrylics. Opaque, quick-drying, water-cleanable. A 24-colour student set covers most palettes.
- Brushes. Round sizes 0, 2 and 6, plus a flat 10 for skies and backgrounds.
- Palette. A ceramic plate or a disposable paper palette.
- Two water jars. One to rinse, one clean for thinning.
- Kitchen roll to blot the brush before each new colour.
5. The painting process
- Work one number at a time. Paint every region with colour 1, then move to 2. It saves washing the brush hundreds of times.
- Start dark, finish light if you tend to smudge; light-to-dark is fine if you are patient.
- Top-left to bottom-right (reverse if you are left-handed) so your hand never rests on wet paint.
- Two thin coats beat one thick one. Acrylic dries in minutes.
- Cover the numbers. Slightly overlap the outline; a second coat hides any print showing through.
- If you overshoot a line, let it dry and paint the neighbouring colour back over it.
6. Finishing and framing
Let the painting cure for at least 24 hours. Then brush or spray a matte or satin acrylic varnish to even out the sheen and protect the surface. Mount paper prints on foam board or frame behind glass; stretched canvas can go straight onto a floating frame.